VSCode
Visual Studio Code (VSCode) is a good tool for machine learning and data science. It has many features that make it a suitable choice for these tasks, including:
- Integrated Terminal: VSCode has an integrated terminal that allows you to run shell commands and interact with your operating system directly from the code editor. This is useful for running data science and machine learning scripts.
- Debugging: VSCode has robust debugging capabilities, including support for Python debugging, which is crucial for finding and fixing errors in machine learning and data science code.
- Extensions: VSCode has a large library of extensions, including those specifically designed for data science and machine learning, such as Jupyter, Pandas, and Matplotlib. These extensions can enhance the functionality of VSCode and make it easier to work with data and machine learning models.
- User-friendly interface: VSCode has a user-friendly interface that makes it easy to navigate, edit, and organize code. This makes it a suitable choice for beginners and experienced developers alike.
- Customization: VSCode is highly customizable, allowing you to customize the look and feel of the code editor to meet your needs. You can also customize keyboard shortcuts, themes, and other settings to improve your workflow.
VSCode can be a good tool for machine learning and data science if you need a code editor with an integrated terminal, robust debugging, support for extensions, a user-friendly interface, and customization options.
Anaconda
Anaconda is a free and open-source distribution of Python and R programming languages for data science, machine learning, and scientific computing. It provides a comprehensive package management system, a development environment, and tools for data analysis and visualization.
Anaconda comes pre-installed with over 1,500 packages, including popular libraries for data analysis, machine learning, and scientific computing, such as NumPy, Pandas, Matplotlib, Seaborn, TensorFlow, PyTorch, and many others.
Anaconda also includes conda, a package manager, which makes it easy to install, update, and manage libraries and packages. Anaconda is widely used in the data science and machine learning communities and is available for Windows, macOS, and Linux.
Steps to setup VSCode with Anaconda
1. Install Anaconda: You can download and install the latest version of Anaconda from the official website.

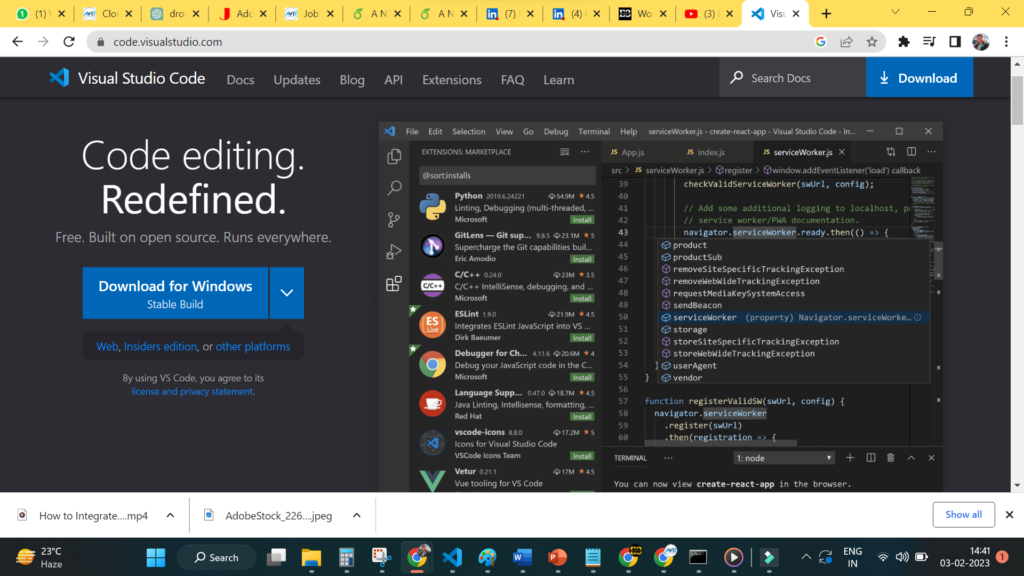
2. Install Visual Studio Code: You can download and install Visual Studio Code from the official website.
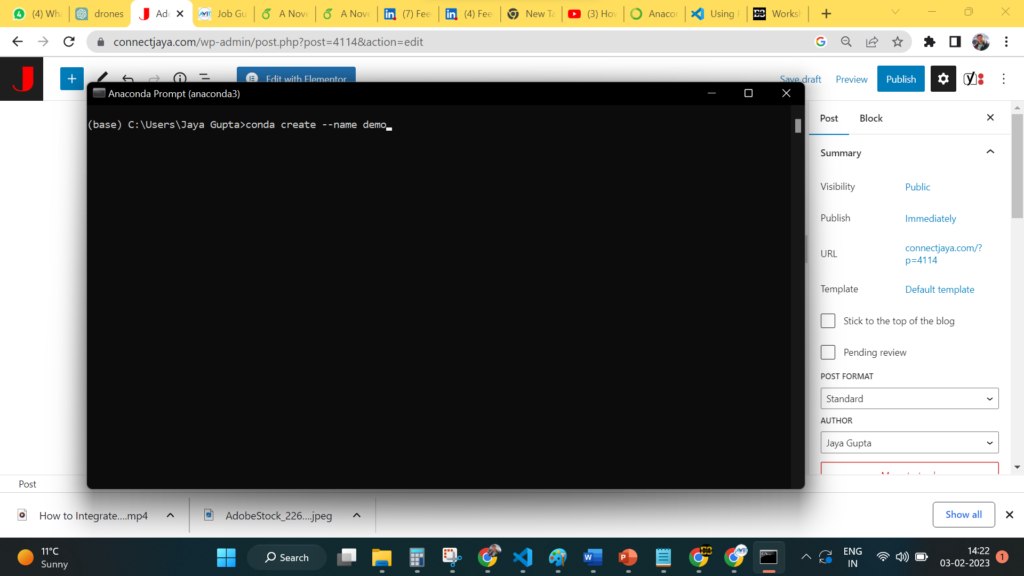
3. Create a Conda environment: To create a custom conda environment, open the Anaconda prompt and run the following command:
conda create --name myenv4. Replace myenv with the name you want to give to your custom environment.
5. Activate the Conda environment: To activate the custom environment, run the following command in the Anaconda prompt:
conda activate myenv6. Install packages: To install packages in the custom environment, use the conda install command. For example, to install the numpy package, run the following command:
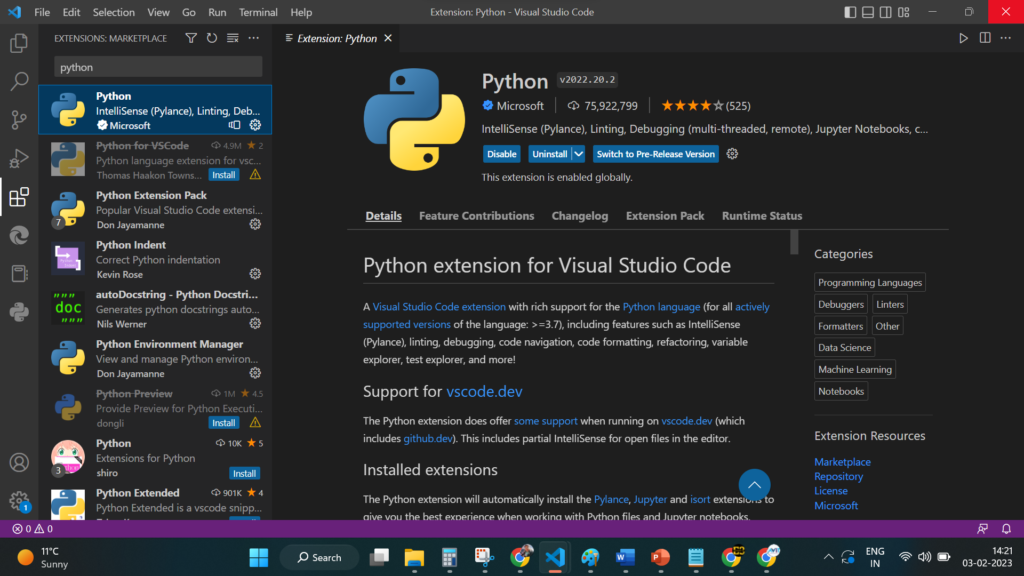
conda install numpy pandas7. Open Visual Studio Code: In Visual Studio Code, click on the Extensions icon on the left-side bar and search for the “Python” extension. Install the Python extension by Microsoft.
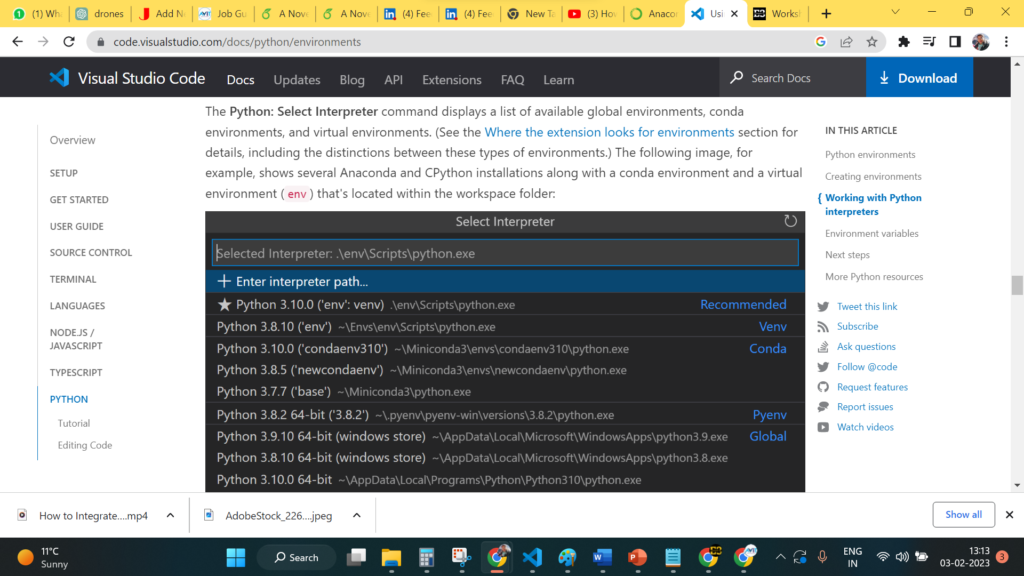
8. Set up Visual Studio Code with the custom environment: In Visual Studio Code, go to the Command Palette (press Ctrl + Shift + P) and type in “Python: Select Interpreter”. Select the custom environment that you created earlier.
9. Install additional libraries: You can install additional libraries for data science and machine learning, such as scikit-learn, tensorflow, and pytorch, using the conda install or pip install command in the Anaconda prompt.
10. Verify the setup: To verify that Visual Studio Code is using the custom environment, go to the Command Palette (press Ctrl + Shift + P) and type in “Python: Display Python version”. The version should match the version of Python in the custom environment.
Watch the complete setup video below:
Online Learning Resource
Join the Job Guaranteed Data Science course at elearners365.com
Classroom Training Resource
READ MORE
Join Free Data Science Webinars

If you have any questions or need help getting started, please let me know. I would be more than happy to assist you.
My LinkedIn: www.linkedin.com/in/connectjaya
My Email: [email protected]
